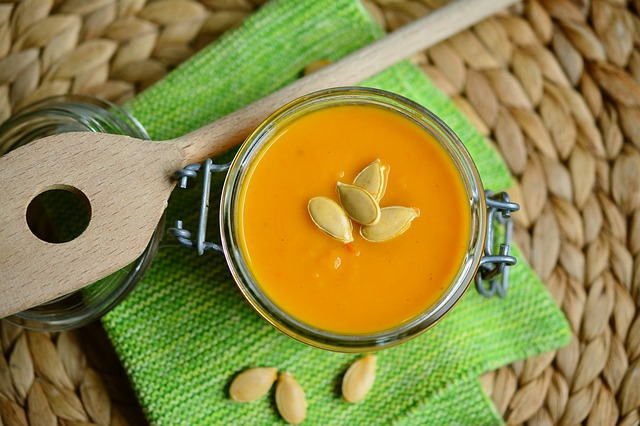
Fresh cooked pumpkins are unmistakably the BEST in any recipe! They are easy to process and quite fun, especially if you include your children in all the activities.
First Things First, Scrub Up Your Pumpkin
Scrub up your pumpkin in the sink with a mild soap and water and then cut out the lid or stem, much like you would if you were going to carve a silly face in one.
Pop the top out and set it aside in a bowl.
Next, Scoop Out The Seeds
I like to take a good survey of the inside of my pumpkin. What I’m looking for is nice thick walls and not a whole lot of stringy stuff.
Scoop out the seeds and place them in a colander to rinse off for later. The seeds are wonderful for roasting and make a very nutritious snack.
Cut Your Pumpkin Wedges
After the seeds are all out, cut your pumpkin into wedges.
Place them on a baking sheet face down. Be sure to line your pan with foil. This will protect your cookware and keep it from having hard baked on food and make clean up a breeze.
Turn the oven on 375 and put it in. Mine are taking about 50 minutes to bake. The time will depend on the size of your pumpkin and how thick the wall of fruit is. Just test it by sticking in a fork to see if it has become tender.
Cool Pumpkin and Scoop Out
Once the pumpkin has cooled all the way, simply take a spoon and scoop out the fruit from the skin. If your pumpkin is tender the fruit scoops out very easily.
I put the fruit in an airtight container in the refrigerator over night before I puree it. This allows any extra liquid from the fruit to drain to the bottom so you don’t end up with soupy pumpkin.
Puree The Pumpkin In Blender
Now you can puree the pumpkin in a blender or food processor. A hand mixer will work as well.
I put up two cups of pumpkin per ziplock freezer bag. The reason for this is because most recipes, especially pies call for two cups. Once you take it down from the freezer you don’t want extra thawed that cannot be used.
After putting your puree in the bag, run your hands down the bag to push out any extra air before you seal it.
If you flatten out the puree in the bag after it is sealed they will store much nicer in the freezer. You can simply stack them on top of each other.
Have fun with your pumpkins this fall. Let us hear some of your favorite pumpkin recipes!
- Wild Dagga Motherwort Medicinal Herb - November 11, 2013
- Grow The Best Organic Lettuce - November 4, 2013
- Amish Hot Pepper Mustard - October 23, 2013


One thought on “Step By Step Tutorial for Processing Pumpkins”