Milk Kefir is a traditional fermented milk drink made by using kefir “grains” (a symbiotic colony of yeast/bacteria) to culture the milk. It is thought to originate in the Caucasus Mountains, where it was made using cow, goat, or sheep milk and stored in skin bags.
It can be likened inconsistency to thin yogurt. Indeed, similar to yogurt, milk kefir is full of beneficial probiotics. But milk kefir is different than yogurt in many ways.
While yogurt only contains about 7 strains of beneficial bacteria, milk kefir contains about 50 strains, including beneficial yeast that is not present in plain yogurt. This makes milk kefir a much stronger probiotic food than yogurt.
Milk kefir is a mesophilic culture, meaning it can be cultured at room temperature, unlike cultures like yogurt which need to be held at a certain temperature for them to culture properly. This is great news because it means that milk kefir is extremely easy to make at home and requires very little “babysitting” as it cultures.
Let’s get started!
What You Need To Make Milk Kefir
Here is everything you will need to make milk kefir at home…
Kefir Grains – Before you make milk kefir, you will need to find a source of milk kefir grains. Many times, these come from a friend who makes kefir. They can even be sent through the mail. If you can’t find a good source of free kefir grains, you can buy them online here.
Milk – Milk is what we will be culturing with our kefir grains to make milk kefir. You will need approximately 4 cups of milk per dime-sized cluster of kefir grains. Use the highest quality of milk that you can find and afford. Raw milk is best, but storebought whole milk is fine.
Glass jar with lid – You will probably want to have 2 glass jars on hand, one to culture your milk kefir in and one to store your kefir grains.
Fine mesh strainer (optional) – I prefer to use a fine mesh strainer to strain some of the whey out of my milk kefir. You may also use a thin tea towel or skip this step altogether.
Step 1: Add Milk to Kefir Grains
1.) Add the kefir grains to a glass jar. A small number of kefir grains can go a long way, so I suggest you start with a dime-sized amount of kefir grains per 4 cups of milk.
2.) Add the milk to the jar. Make sure you leave about 1 inch of headspace between the top of the liquid to the lid of the jar.
3.) Cap loosely and place on the counter to ferment.
4.) Allow your milk kefir to ferment on the counter for 1-2 days. Check your milk kefir after about 24 hours. If your kefir is not done, allow it to sit on the counter for another 24 hours or until the milk is cultured.
This can take some experimentation to see what works for your kefir grains and kitchen. Don’t let it culture too long, or the whey will fully separate from the milk and your kefir will be very strong and pungent.
Step 2: Strain the Whey (Optional)
I prefer to strain some of the whey out of my milk kefir. This step is optional.
If you would like to strain the whey, you can use a fine mesh strainer (like I did in the video) or you can use a thin tea towel. When using a tea towel, secure the kefir inside the towel with a string or rubber band. Allow to strain over a bowl for up to a few hours. The longer you let it strain, the thicker your remaining kefir will be.
Step 3: Remove the Kefir Grains
1.) After you have strained the whey from the kefir (as much as desired), make sure that you remove the kefir grains.
If you want, you can immediately start another batch of kefir on the counter, or you may choose to store your kefir grains until you are ready to make milk kefir again (instructions for store kefir grains below)
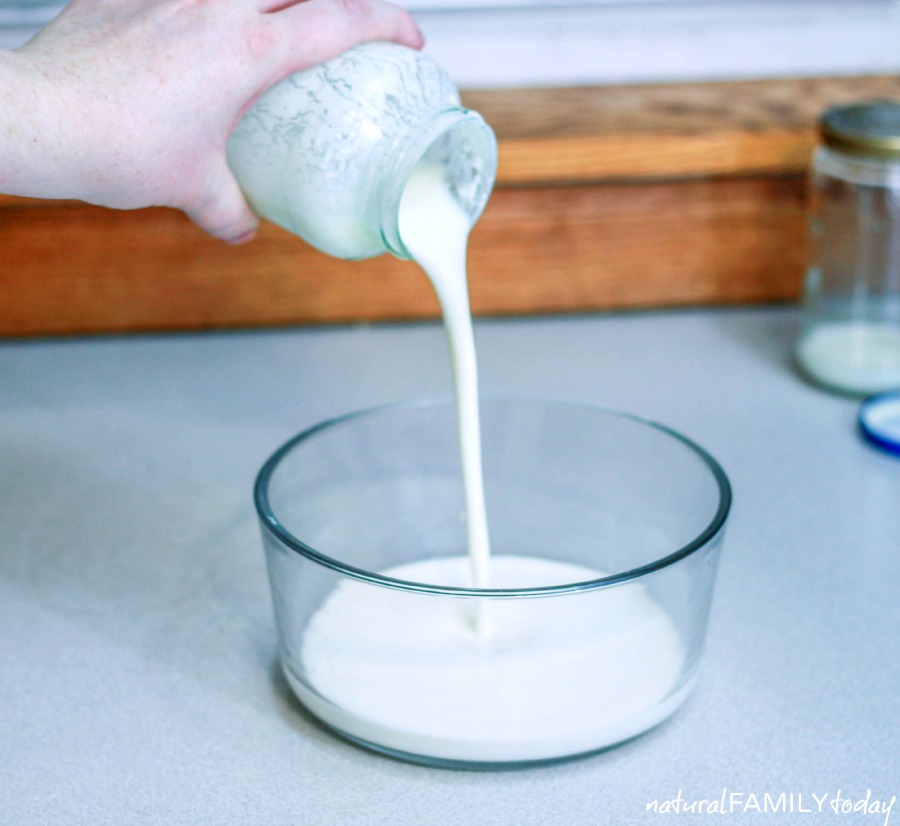
2.) Bottle the milk kefir and store it in the refrigerator until you’re ready to use it.
How to Use Milk Kefir:
- Add it to smoothies
- Use it any almost any recipe that calls for yogurt
- Shake it up and drink it straight!
Storing Milk Kefir Grains
Storing your kefir grains is easy. Just place them in a small glass jar and cover them with a bit of milk. Cover and store this glass jar in the refrigerator.
I have successfully stored kefir grains this way for several months. Remember to change the milk every few weeks. It’s best to use your kefir grains as often as possible, though, to keep the bacteria and yeast alive and healthy.
~
Pin It:


Drawing from years of clinical experience working with children, teens, adults, and families, Vanessa writes about psychology, communication, emotional wellness, personal growth, and the patterns that shape human behavior. Her work blends evidence-based mental health principles with practical, accessible insights designed to help readers better understand themselves and their relationships.
Vanessa incorporates trauma-informed, attachment-focused, EMDR, and play therapy approaches in her clinical work. As a Registered Play Therapist™, she has advanced training in helping children communicate, process emotions, and heal through developmentally appropriate therapeutic interventions.
When she isn't providing therapy, supervising clinicians, or running a counseling practice, Vanessa enjoys exploring the intersection of psychology, storytelling, healing, and personal transformation through writing and education.
- Emotional Distance vs. Healthy Space: How to Tell the Difference - July 2, 2026
- What Does “I Need Space” Really Mean in a Relationship? - June 20, 2026
- Why Video Games Aren’t Ruining Your Child’s Brain - June 7, 2025